DIY Roof Maintenance: Simple Steps to Extend the Lifespan of Your Roof
Your home is your sanctuary, and the roof is its shield. It’s an unsung hero, quietly bearing the brunt of Mother Nature’s wrath while keeping you safe and dry. However, how often do we stop to consider the immense responsibility resting on those shingles? Most homeowners neglect roof maintenance until a leak or noticeable damage demands attention. But what if I told you that regular DIY roof maintenance can significantly extend the lifespan of your roof, sparing you from expensive repairs and replacements down the line?
In this comprehensive guide, we’ll explore six crucial steps in roof maintenance that every homeowner should know. Whether you’re a seasoned DIY enthusiast or a novice looking to protect your investment, these tips will equip you with the knowledge to keep your roof in tip-top shape.
Conducting Regular Roof Inspections: Spotting Problems Early
Maintaining your roof’s health starts with routine inspections, which serve as the cornerstone of preventive maintenance. Identifying potential issues early can save you from significant headaches and hefty expenses down the line. To keep your roof in optimal condition, aim to inspect it at least twice a year—ideally in the spring and fall—and always after severe weather events that could cause hidden damage.
What to Look For During an Inspection
Understanding what to look for during a roof inspection is vital. Here are key areas to focus on:
- Damaged Shingles: Begin by examining your shingles closely for any signs of damage, such as cracks, curls, or missing pieces. Damaged shingles are not just an eyesore; they compromise your roof’s ability to repel water, leading to leaks and rot that can deteriorate the underlying structure.
- Granule Loss: Over time, asphalt shingles will shed their granules. These granules play a crucial role in protecting your shingles from UV rays and providing fire resistance. If you notice an accumulation of granules in your gutters, it’s a clear indicator that your shingles are ageing and may soon need replacing.
- Flashing Issues: Flashing is used to seal joints and edges around chimneys, vents, and skylights. Damaged or corroded flashing can create a pathway for water to enter your home, causing significant damage. Inspect these areas carefully to ensure the flashing is intact and properly sealed.
- Gutter and Downspout Health: Gutters and downspouts play a pivotal role in directing water away from your roof and foundation. Ensure they are securely attached and free of debris. Clogged gutters can cause water to back up, leading to damaged gutters along the roof’s edge and even affecting your home’s foundation.
- Moss and Algae Growth: Moss and algae might seem like minor nuisances, but they can trap moisture against your roof, accelerating decay. Look for green, fuzzy patches (moss) or dark streaks (algae), and address them promptly to prevent further damage.
Roof Maintenance
Tools and Safety Measures
Before undertaking an inspection, gather the necessary tools: a sturdy ladder, binoculars for close-up views, gloves for hand protection, a flashlight for dark areas, and a notepad to document any findings. Safety should be your priority. Use a stable ladder positioned on level ground and wear appropriate footwear with a good grip to prevent slips. Never conduct a roof inspection alone; having someone nearby is an important safety measure. If you’re uncomfortable with heights or unsure about the inspection process, don’t hesitate to seek professional assistance.
The Importance of Early Detection
Regular roof inspections are not just a best practice—they are essential for effective roof maintenance. By catching problems early, you can address minor issues before they escalate into major, costly repairs. This proactive approach not only preserves your roof’s integrity but also extends its lifespan, giving you peace of mind and protecting your investment.
Incorporating these inspections into your home maintenance routine ensures that your roof remains a robust barrier against the elements. By dedicating a small amount of time and effort to regular check-ups, you can prevent small problems from becoming large-scale financial burdens, maintaining the safety and comfort of your home.
Cleaning Gutters and Downspouts: Essential for Proper Water Drainage
Clean gutters and downspouts play an indispensable role in protecting your home from water damage. These often-overlooked components are essential for directing rainwater away from your roof, walls, and foundation. When functioning correctly, they prevent a cascade of issues, from leaks to wood rot and even foundation instability. Neglecting gutter maintenance can lead to clogs and overflows, which can cause severe damage and costly repairs.
Effective Cleaning Techniques
Proper cleaning of gutters and downspouts is not just about removing visible debris. It involves a systematic approach to ensure they function optimally. Here’s a detailed step-by-step guide to help you perform this crucial task effectively:
- Remove Debris: Begin by scooping out leaves, twigs, and other debris using a small garden trowel or a specialized gutter scoop. Make sure to dispose of the collected debris properly to avoid any mess around your home.
- Flush with Water: Once the larger debris is cleared, use a garden hose to flush out lingering dirt and grime. Start from the end opposite the downspout to push debris toward it. This step ensures that your gutters are not only visibly clean but also free-flowing, allowing water to pass through without obstruction.
- Check for Leaks: While cleaning, inspect your gutters meticulously for any signs of leaks or damage, especially at seams and joints. Use gutter sealant to promptly address any leaks you discover, preventing water from seeping through and causing underlying damage.
- Clear Downspouts: A crucial part of the process is ensuring that downspouts are clear. Insert a hose into each downspout to check if water flows freely. If you encounter blockages, a plumber’s snake can be invaluable for dislodging and removing clogs, ensuring that rainwater is effectively channeled away from your home.
Preventive Measures for Long-Term Maintenance
Regular cleaning is essential, but taking additional preventive measures can significantly reduce the frequency of maintenance and enhance the longevity of your gutters and downspouts:
- Install Gutter Guards: Consider installing gutter guards to keep debris out while still allowing water to flow through. These covers can drastically reduce the amount of debris that accumulates, minimizing the need for frequent cleaning.
- Trim Overhanging Branches: Trees near your home can contribute to gutter clogs by dropping leaves and branches. Regularly trim overhanging branches to reduce this source of debris, keeping your gutters cleaner for longer periods.
- Regular Maintenance Schedule: Establish a routine for gutter maintenance, particularly during the fall when leaves are abundant. Consistent upkeep ensures that your gutters remain free of obstructions, preventing water from overflowing and causing damage.
The Importance of Routine Gutter and Downspout Care
Incorporating gutter and downspout maintenance into your regular home care routine is vital for safeguarding your property. Clean gutters and downspouts protect your roof from water damage, prevent wood rot in your walls, and shield your foundation from water-related issues. By dedicating time to these preventive measures, you can avoid a myriad of problems, ensuring that your home remains structurally sound and aesthetically pleasing.
Maintaining your gutters and downspouts may seem like a mundane chore, but its impact on your home’s health is profound. By following a systematic cleaning process and implementing preventive measures, you can ensure that your gutters and downspouts function efficiently year-round. This proactive approach not only extends the lifespan of these critical components but also preserves the integrity of your entire home.
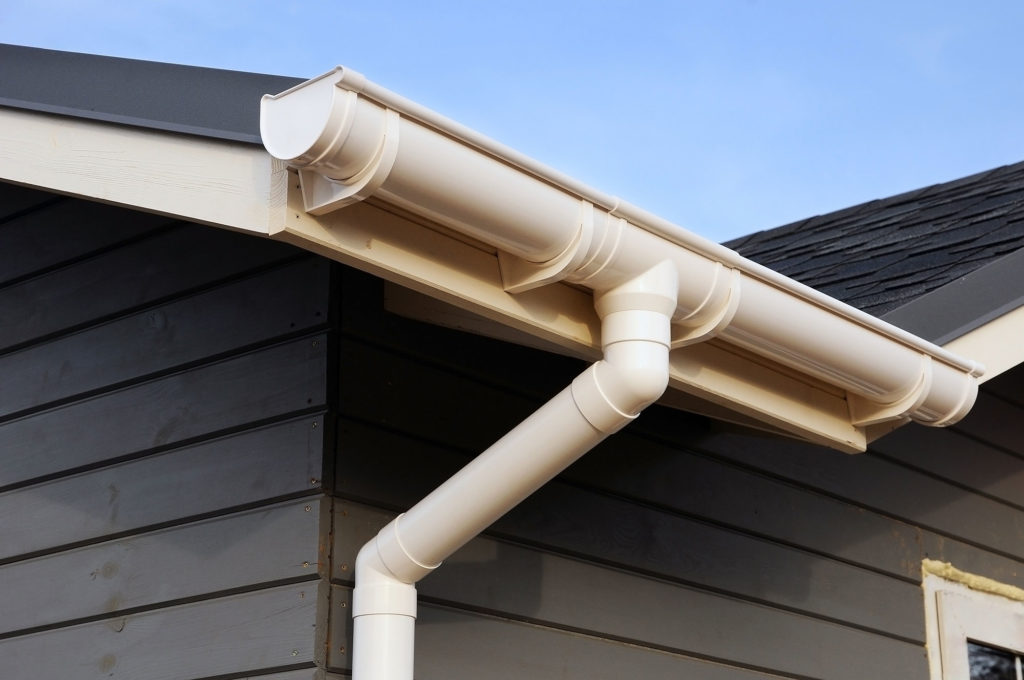
Gutter Cleaning and Maintenance
Repairing and Replacing Shingles: Maintaining Structural Integrity
Shingles are your roof’s frontline defense against the elements. Over time, they can become damaged due to weather, age, or physical impact. Regularly checking and maintaining your shingles is crucial for extending your roof’s lifespan.
Identifying Shingle Damage
During inspections, look for these signs of shingle damage:
- Cracked or Split Shingles: Weathering and extreme temperatures often cause cracks. Cracked shingles allow water penetration, leading to leaks and rot.
- Curling or Buckling Shingles: Curling shingles result from improper installation, poor ventilation, or age. They are easily lifted by wind, increasing water infiltration risk.
- Missing Shingles: High winds and storms can dislodge shingles. Missing shingles leave your roof vulnerable to water damage and must be replaced immediately.
- Granule Loss: Aging shingles lose protective granules. Bald spots or granules in gutters signal that shingles are nearing the end of their lifespan.
Repairing Shingles
Follow these steps to repair damaged shingles:
- Gather Tools and Materials: You’ll need replacement shingles, roofing nails, a hammer, a pry bar, roofing cement, and a utility knife.
- Remove Damaged Shingles: Carefully lift the surrounding shingles’ edges and use a pry bar to remove nails holding the damaged shingle. Slide the damaged shingle out.
- Install New Shingle: Slide in the new shingle and secure it with roofing nails. Apply roofing cement to the new shingle’s edges and corners for a watertight seal.
Replacing Shingles
For extensive damage, replace the entire section:
- Remove Old Shingles: Start at the top of the damaged area and work downward. Use a roofing shovel or pry bar to remove old shingles and nails.
- Inspect Roof Deck: Before installing new shingles, inspect the deck for damage or rot. Replace compromised sections to ensure a solid foundation.
- Install New Shingles: Begin at the bottom and work upward. Follow manufacturer instructions for proper installation, ensuring each shingle overlaps the one below.
Regularly repairing and replacing damaged shingles maintains your roof’s integrity, preventing water infiltration and extending its lifespan.
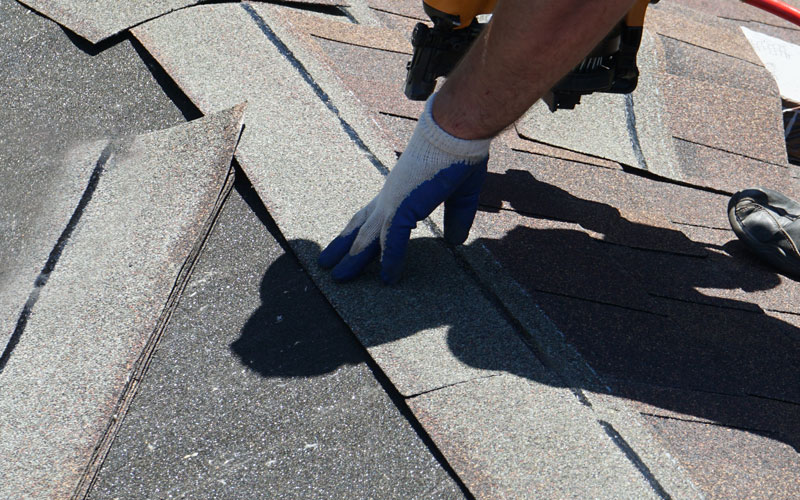
Roof Shingles Replacement
Addressing Flashing and Sealant Issues: Preventing Costly Leaks
Flashing and sealants are vital for waterproofing your roof. Flashing seals joints and edges around chimneys, vents, and skylights, while sealants fill gaps and cracks. Over time, flashing can corrode, and sealants can degrade, leading to potential leaks.
Inspecting Flashing and Sealants
Pay close attention to these areas during inspections:
- Chimneys: Check flashing around the chimney base. Look for rust, corrosion, or separation.
- Vents and Skylights: Inspect flashing around vents and skylights. Ensure it’s snug and free of cracks or gaps.
- Valleys: Valleys—where two roof planes meet—require intact flashing and proper sealing.
- Sealant: Look for cracked, dried, or missing sealant around flashing and roof penetrations. Degraded sealant allows water seepage.
Repairing Flashing and Sealant
If you find damaged flashing or degraded sealant, follow these repair steps:
- Gather Tools and Materials: You’ll need roofing sealant, a caulk gun, a putty knife, a wire brush, and replacement flashing.
- Clean Area: Use a wire brush to clean around flashing or sealant. Remove dirt, debris, or old sealant for a good bond.
- Apply New Sealant: For minor cracks or gaps, apply roofing sealant generously with a caulk gun. Smooth it with a putty knife for a tight seal.
- Replace Flashing: For extensive damage, remove old flashing and install new pieces. Ensure proper alignment and secure them with roofing nails or screws. Apply sealant along edges for added protection.
Addressing flashing and sealant issues promptly prevents leaks and extends your roof’s lifespan, avoiding costly repairs.
Managing Moss and Algae Growth: Protecting Your Roof’s Surface
Moss and algae might seem harmless, but they can cause significant damage to your roof if left unchecked. They trap moisture against the roof’s surface, leading to rot and deterioration.
Identifying Moss and Algae
Recognizing moss and algae growth is straightforward:
- Moss: Appears as green, fuzzy patches on shaded areas of your roof. It retains moisture and can damage shingles.
- Algae: Looks like dark streaks or stains, commonly found in humid climates. While less damaging than moss, it affects your roof’s appearance.
Removing Moss and Algae
Follow these steps to remove moss and algae safely:
- Gather Tools and Materials: You’ll need a garden sprayer, moss/algae cleaner (store-bought or homemade), a soft-bristle brush, and a water hose.
- Apply Cleaner: Fill the garden sprayer with your chosen cleaner. Spray affected areas generously, allowing the solution to sit for 15-20 minutes.
- Scrub Gently: Use a soft-bristle brush to scrub moss or algae. Avoid harsh brushes or pressure washers, which can damage shingles.
- Rinse Thoroughly: Rinse the roof with a water hose, removing any remaining cleaner and debris. Ensure thorough rinsing to prevent cleaner residue.
Preventing Future Growth
To prevent moss and algae regrowth:
- Trim Overhanging Branches: Reduce shade by trimming tree branches near your roof. Increased sunlight helps keep your roof dry and less hospitable to moss and algae.
- Install Zinc or Copper Strips: These metals inhibit moss and algae growth. Place strips under the top row of shingles, allowing rainwater to wash traces of these metals down your roof.
- Regular Cleaning: Incorporate periodic roof cleanings into your maintenance routine. Early removal of moss and algae prevents extensive damage.
Managing moss and algae growth is crucial for maintaining your roof’s health. By removing and preventing these organisms, you protect your roof’s surface and prolong its lifespan.

Roof Cleaning
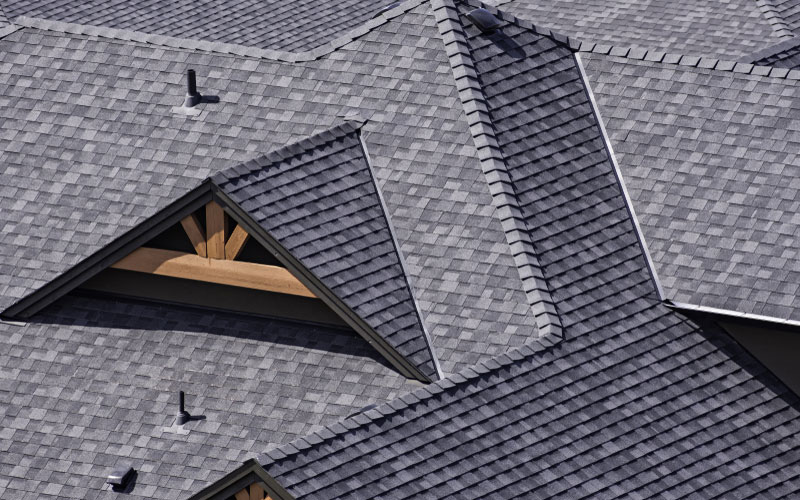
Ensuring Proper Roof Ventilation: Reducing Moisture and Heat Buildup
Proper roof ventilation is essential for a healthy roof. It regulates temperature and moisture levels in your attic, preventing problems like mold growth, ice dams, and shingle deterioration. Inadequate ventilation can lead to increased energy costs, structural damage, and a shortened roof lifespan.
Understanding Roof Ventilation
Effective roof ventilation involves a balance between intake and exhaust vents:
- Intake Vents: Located at the eaves or soffits, intake vents allow cool, fresh air to enter the attic.
- Exhaust Vents: Positioned near the roof’s peak, exhaust vents expel hot, moist air from the attic. Common types include ridge vents, turbine vents, and box vents.
Benefits of Proper Ventilation
Here are the key benefits of ensuring proper roof ventilation:
- Temperature Regulation: Proper ventilation keeps your attic cooler in summer and warmer in winter, reducing strain on your HVAC system and lowering energy bills.
- Moisture Control: Ventilation prevents moisture buildup, reducing the risk of mold, mildew, and wood rot.
- Shingle Longevity: A well-ventilated attic minimizes shingle damage by preventing heat and moisture from causing them to warp or decay.
Checking and Improving Ventilation
Follow these steps to check and improve your roof ventilation:
- Inspect Existing Vents: Ensure intake and exhaust vents are unobstructed and functioning correctly. Clear any blockages, such as insulation or debris, that might impede airflow.
- Calculate Ventilation Needs: For proper ventilation, aim for 1 square foot of vent area per 300 square feet of attic space. This includes both intake and exhaust vents. Adjust your ventilation system if necessary.
- Add Vents if Needed: If your ventilation is inadequate, consider adding additional vents. Ridge vents provide continuous airflow along the roof’s peak, while soffit vents enhance intake airflow. Consult a professional if you’re unsure about installation.
Ensuring proper roof ventilation is a critical aspect of roof maintenance. By regulating temperature and moisture levels, you protect your roof and extend its lifespan.
Conclusion:
Maintenance of roof may not be the most thrilling home improvement task, but its rewards are undeniable. By investing time and effort in regular DIY maintenance, you can significantly extend the lifespan of your roof, prevent costly repairs, and ensure the safety and comfort of your home. A proactive approach to roof maintenance not only saves you money but also provides peace of mind. Your roof is a critical component of your home’s structure, and caring for it ensures that it continues to protect your family and belongings for years to come. So, roll up your sleeves, gather your tools, and start your DIY roof maintenance journey today. Your future self—and your roof—will thank you.
https://www.google.com/maps?cid=465871782046421571
")